TOUCH PANEL, ARDUINO & PROCESSING
ABSTRACT
In this project I’ve connected the Arduino board to a touch panel and then I represent the points where the touch panel is pressed in the screen of my laptop using a Processing program that reads the data of the serial port.
 |
| Figure 1: Arduino connected to the touch panel. |
MATERIALS
1 x Arduino Uno and USB wire
1 x Touch panel
DEVELOPMENT
My touch panel is a part of an old Tom-tom that I found on the floor in a parking. I dissembled it and I took the pieces that I could play with. The first part that I decided to test was the touch screen. It is a resistive panel that has four pins. The pins are X1, X2, Y1, Y2. First of all, I had to solder wires to the little pins of the touch screen and then I put a bit of sticky tape to protect them. The connection between the touch panel and Arduino is shown in the next picture.
 |
| Figure 2: Connections between Arduino and the touch-screen. |
I downloaded the touch-screen library and the Arduino code from [1] and [2]. The Arduino board reads the analog signals of the pins and then, it shows the X and Y coordinates with a range value among 0 and 1023 in the serial monitor. The origin point (0,0) is a corner of the touch screen and their values increase progressively if we move away from the origin point.
For seeing the results in a way more attractive, I did a little Processing code that reads the data of the serial port used by Arduino and draws the points that are being pressed in the touch panel. The next picture is an image of the Processing program.
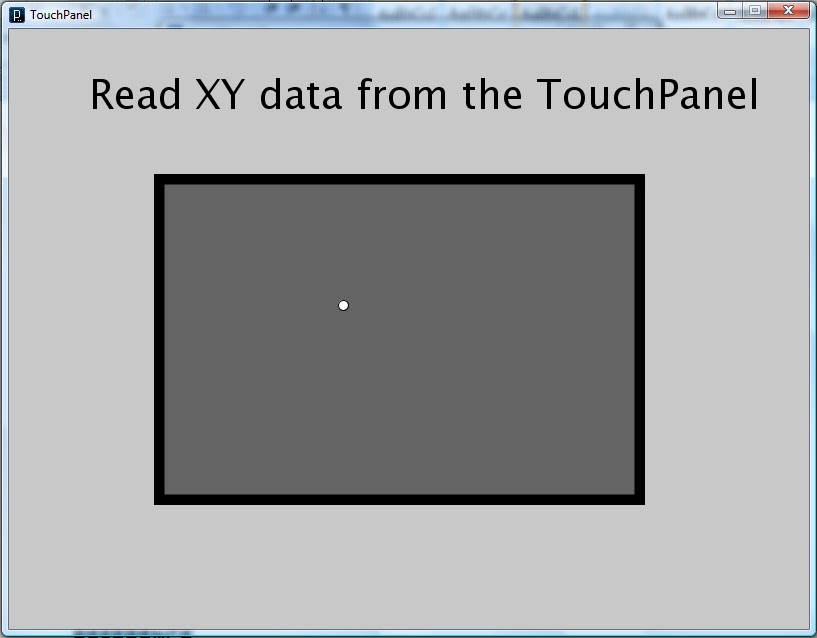 |
| Figure 3: Snapshot of Processing program. |
RESULTS
The results are shown in the next video.
I’ve to say that my touch panel had a little defect on the screen and there was a point in which the data are wrong. I suspect that it does a short.
REFERENCE
[1] http://www.practicalarduino.com/projects/touch-control-panel
[2] http://gitub.com/practicalarduino/TouchScreen
[2] http://gitub.com/practicalarduino/TouchScreen
APPENDIX 1
Processing Code:
//Library for read the serial data sent from Arduino to the Laptop
import processing.serial.*;
Serial myPort;
int baudRate = 9600;
int lf = 10;//SPACE
//Variable used for the coordinates
int currentX = 0,currentY = 0;
void setup()
{
size(800, 600);
smooth(); background(200); stroke(0);
textSize(40); fill(0); text("Read XY data from the TouchPanel ",80,80);
println(Serial.list());// List all the available serial ports: 4
myPort = new Serial(this, Serial.list()[3], baudRate); //In my case, COM9 is the Arduino board and it is in the fourth place.
myPort.bufferUntil(lf);
}
void draw()
{
strokeWeight(1);fill(100);rect(150,150,480,320);
float X = map(currentX, 0, 1023, 150, 150+480);
float Y = map(currentY, 0, 1023, 150, 150+320);
fill(255);ellipse(int(X),int(Y),10,10);
strokeWeight(10); noFill(); rect(150,150,480,320);
print(currentX);print(',');println(currentY);
}
//Interruption of the serial port
void serialEvent(Serial p)
{
String inString;
try
{
inString = (myPort.readString());
currentX = xValue(inString);
currentY = yValue(inString);
}catch(Exception e)
{
println(e);
}
redraw();
}
//This function split up the first coordinate
int xValue(String inString)
{
int commaIndex = inString.indexOf(',');
return int(inString.substring(0,commaIndex));
}
//This function split up the second coordinate
int yValue(String inString)
{
int commaIndex = inString.indexOf(',');
return int(inString.substring(commaIndex+1,inString.length() - 2));
}
APPENDIX 2
Arduino Code:
/*The info about the TouchScreen is in: http://www.practicalarduino.com/projects/touch-control-panel
*and the library and codes are from: https://github.com/practicalarduino/TouchScreen
*/
//This code reads the data obtained from four pins of a Touch Panel.
//The pins "X1,Y2,X2,Y2" are conected to A0,A1,A2,A3 analog Arduino inputs respectively.
#include <TouchPanel.h>
TouchPanel ts(3, 1, 0, 2);
void setup()
{
Serial.begin(9600);
}
void loop()
{
int coords[2];
ts.read(coords);
Serial.print(coords[0]);
Serial.print(",");
Serial.println(coords[1]);
delay (100);
}